
 Tweet
Tweet
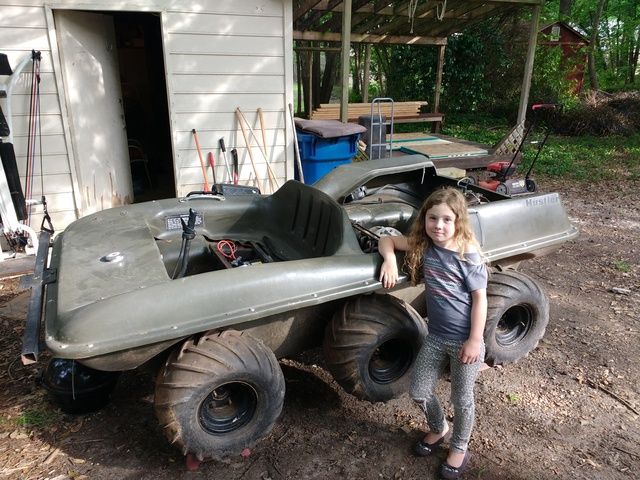
So, I came across an Argo 8x8 for the first time a year or so ago on Craigslist where the guy just happened to be trading for something I was searching. I had never seen anything like it before and I wanted one. Well, I found this Hustler 6x6 on there a couple months ago advertised in the wrong section (score!) for cheap. My daughter and I went and bought it one afternoon while my wife was cooking dinner ("We're going out for a minute..."). I won't bore you with the same old pictures -the dirty old 6x6 full of leaves and rust and old bolts. It was that.
I've learned over the years of building and customizing things to "build it to sell it" when I'm done playing with it, so I have to keep things "marketable" so that they can be profitable. Anyhow, since I live in an ever-shrinking oasis of farmland in the middle of suburbia, I'm going to build this hustler to appeal to the six-figure suburbanite. I've been inspired by the big flashy speedboats up by the lake with their matching trailers, and also by the shiny new Jeeps with every bolt-on available at 4WheelParts. Yay for Suburbia!
Here are some pics of note:
Day one:
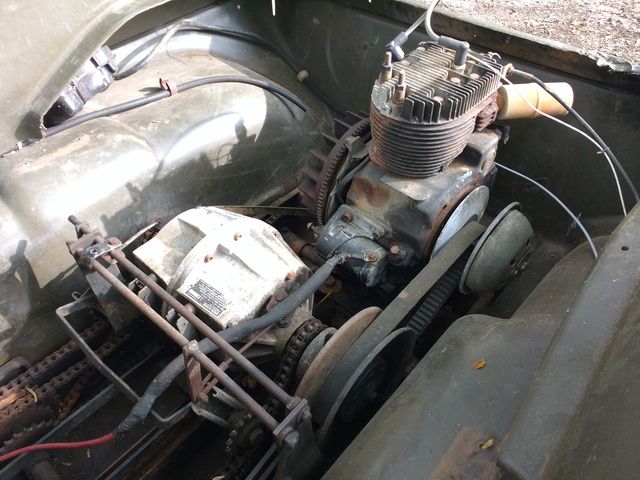
Day two:
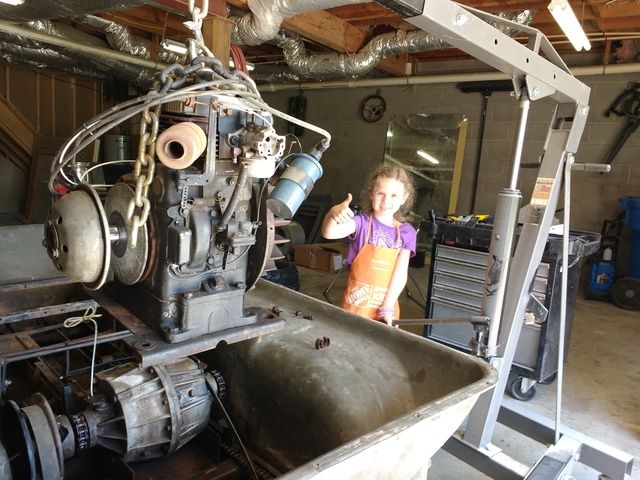
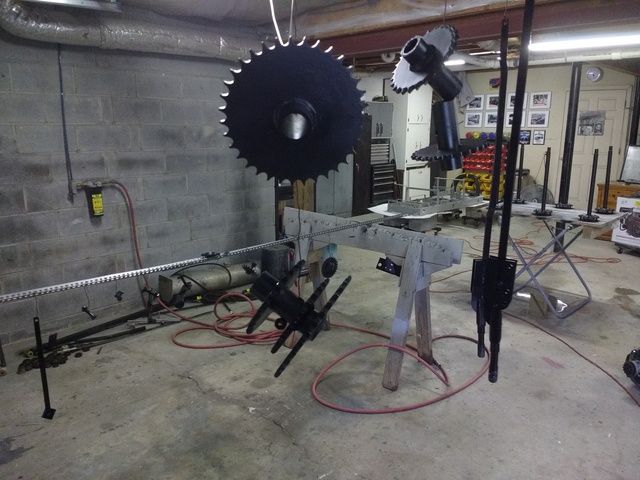
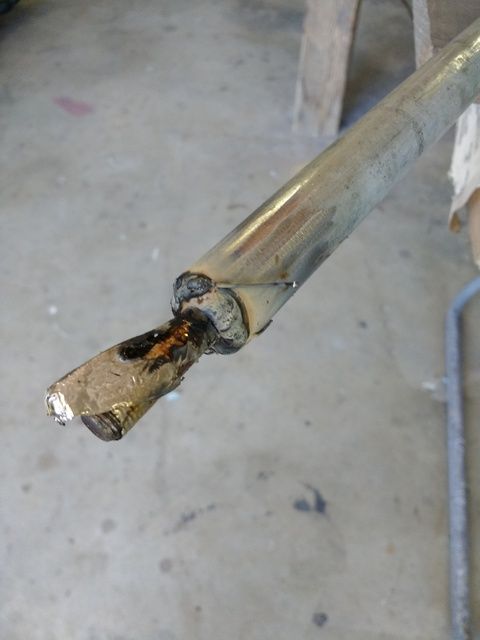
After starting to pull the axles out I found THREE of the them had rusted-on sprockets. I fought for three more days with two cans of PB blaster, a Map gas torch, and an air chisel. On day four I switched to the cut off wheel and solved my problem. But I got a new air chisel out of it!
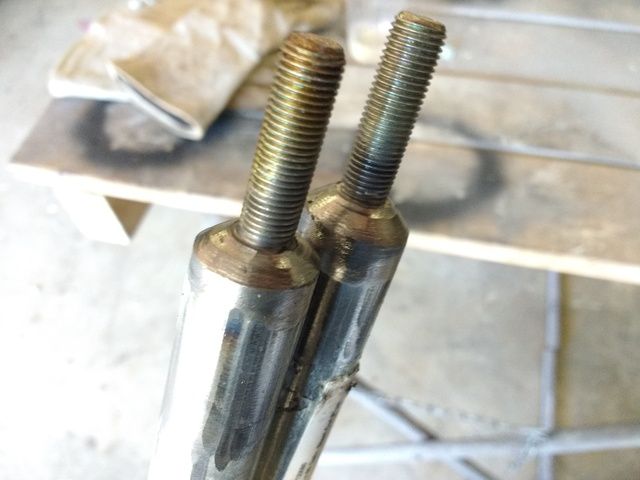
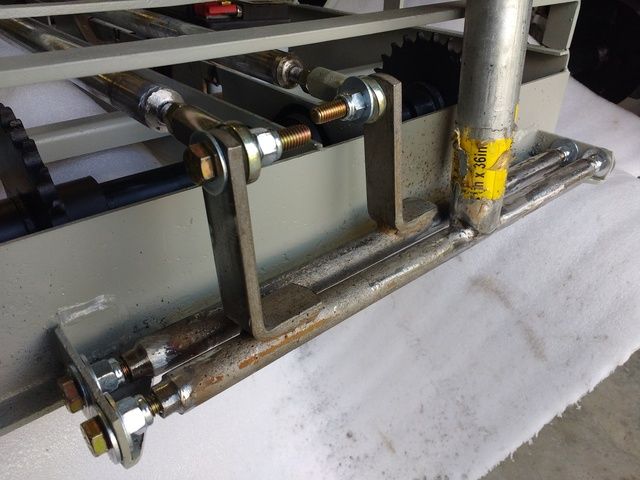
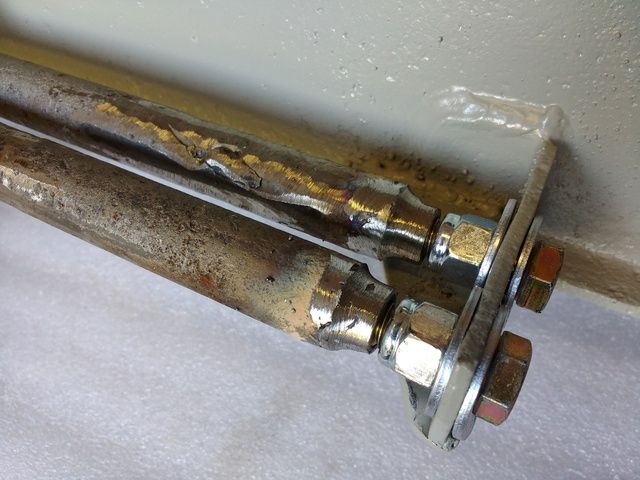
Then I went to HF and got the $99 shop press (I love buying tools out of... Necessity...?) so I could press all that junk off the axles. I beveled the edges of the axle halves, laid them in a piece of angle iron, and welded them back up. I made a couple passes over all the axles with the flap disc just to give the sprockets some space and to make sure that rusty garbage didn't happen again.
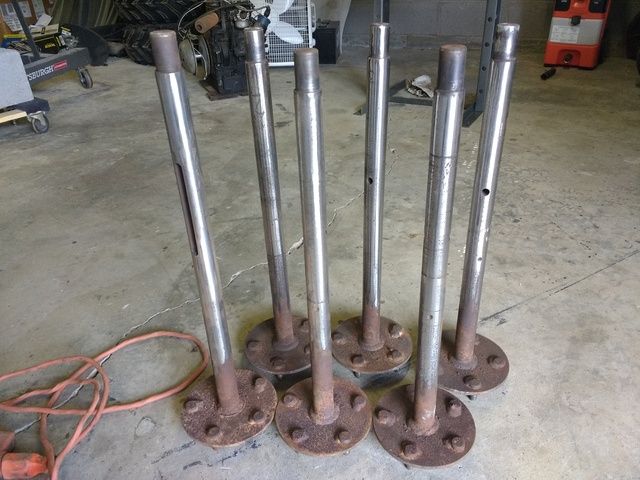
Then I ordered THREE HUNDRED AND FIFTY! dollars worth of bearings from Richard and his relics monopoly. MAN! In all honesty- those bearings are the same price at Tractor Supply, so I can't cry. I was extremely happy to be able to get all the stuff in one place from behind a computer screen.
Aaaaaand then it was on to sandblasting...
$120 for the frame, and then $65 worth of Northern Tool's blasting cabinet gloves and Black Diamond medium for the shop's cabinet so that I could do the rest at the shop for... free?
THEN, FINALLY, my almost favorite part.
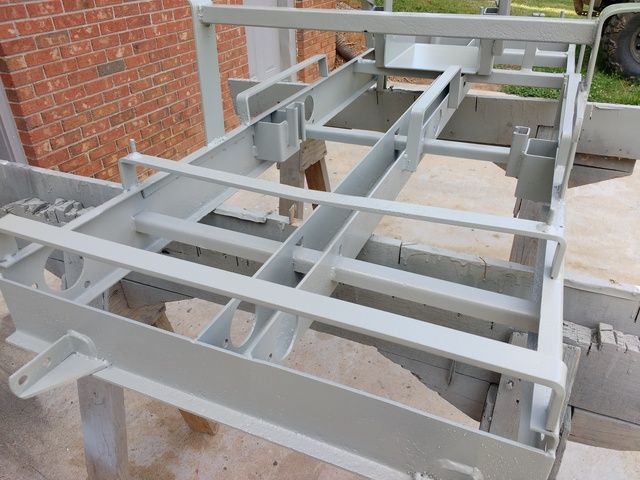
Paaaaaaaintingggggg!!
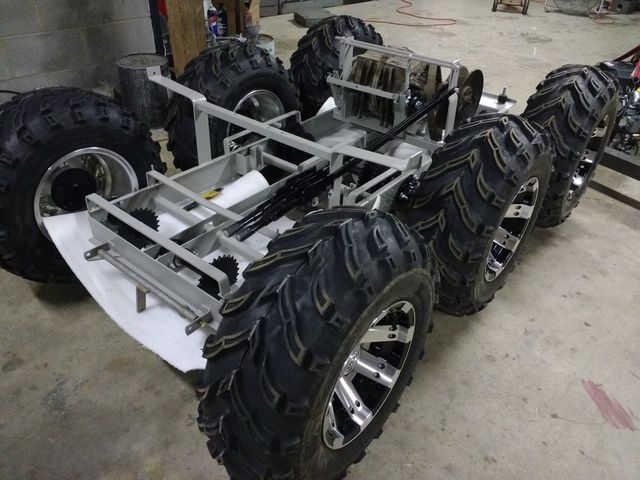
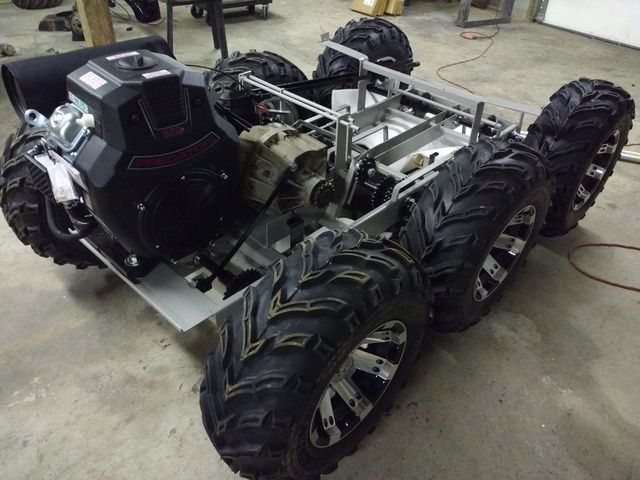
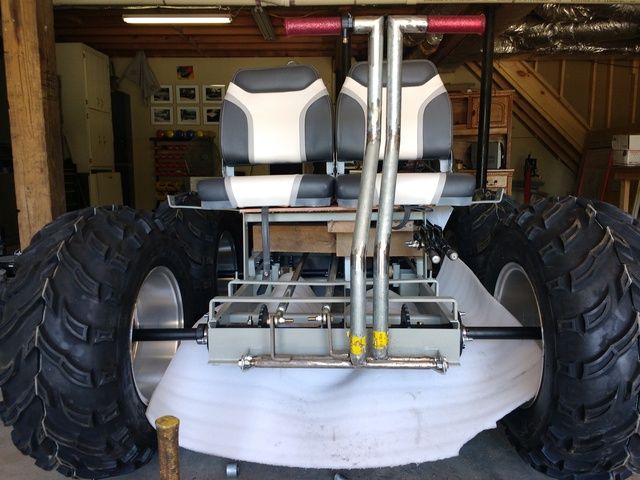
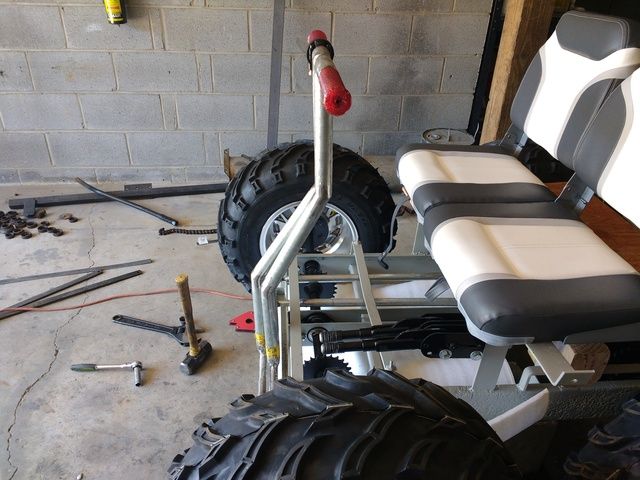
The frame got some gray epoxy primer just for the mock-up phase (bedliner will come later to hide the rust pitting), and all the small parts got black epoxy primer.
My end game is glossy 3-gray camo outside with a big red star -yes, like Russia, and no, I'm not Russian- with gloss gray inside of the tub like a racecar.
Suburbia, remember??
I've learned over the years of building and customizing things to "build it to sell it" when I'm done playing with it, so I have to keep things "marketable" so that they can be profitable. Anyhow, since I live in an ever-shrinking oasis of farmland in the middle of suburbia, I'm going to build this hustler to appeal to the six-figure suburbanite. I've been inspired by the big flashy speedboats up by the lake with their matching trailers, and also by the shiny new Jeeps with every bolt-on available at 4WheelParts. Yay for Suburbia!
Here are some pics of note:
Day one:
Day two:
After starting to pull the axles out I found THREE of the them had rusted-on sprockets. I fought for three more days with two cans of PB blaster, a Map gas torch, and an air chisel. On day four I switched to the cut off wheel and solved my problem. But I got a new air chisel out of it!
Then I went to HF and got the $99 shop press (I love buying tools out of... Necessity...?) so I could press all that junk off the axles. I beveled the edges of the axle halves, laid them in a piece of angle iron, and welded them back up. I made a couple passes over all the axles with the flap disc just to give the sprockets some space and to make sure that rusty garbage didn't happen again.
Then I ordered THREE HUNDRED AND FIFTY! dollars worth of bearings from Richard and his relics monopoly. MAN! In all honesty- those bearings are the same price at Tractor Supply, so I can't cry. I was extremely happy to be able to get all the stuff in one place from behind a computer screen.
Aaaaaand then it was on to sandblasting...
$120 for the frame, and then $65 worth of Northern Tool's blasting cabinet gloves and Black Diamond medium for the shop's cabinet so that I could do the rest at the shop for... free?
THEN, FINALLY, my almost favorite part.
Paaaaaaaintingggggg!!
The frame got some gray epoxy primer just for the mock-up phase (bedliner will come later to hide the rust pitting), and all the small parts got black epoxy primer.
My end game is glossy 3-gray camo outside with a big red star -yes, like Russia, and no, I'm not Russian- with gloss gray inside of the tub like a racecar.
Suburbia, remember??


Comment