 Tweet
Tweet
If you own an amphibious ATV for any length of time you will probably have to replace a bad bearing or bent axle especially if the machine is older and hasn’t been maintained properly. For first timers bearing or axle replacement can be a daunting task but it is really very simple (and rewarding). This article will walk you through the steps to replace an axle and the bearings in a Max II. While this article is specific to the max, the basic principles apply to multiple amphibious ATVs.
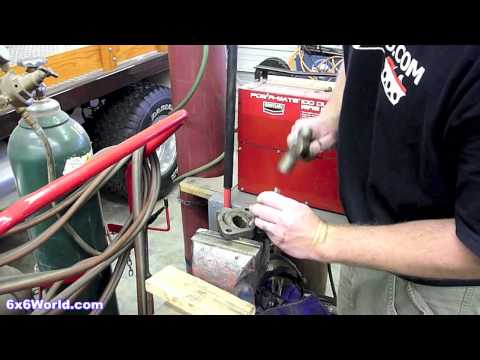
Edit: I put together a short video detailing the process. It should come in handy and help supplement the article.
Note: I took pictures of every axle I removed and will be using the best ones out of the group. I may jump from axle to axle but don’t let that throw you. The procedure is the same for every axle.
TIP: It is usually a good idea to spray all of the nuts, bolts, and axles with penetrating lubricant the day before you tackle this project. It can make the job much easier on yo
Note: After I wrote this article Dan from Recreative Industries gave some great tips that I'm going back to include throughout the article. The first one can be a real time saver. Before you start tearing things apart, measure the position of the axles relative to the frame. This way you can set them back to where they were when you reinstall them and know that they will be running true.
Let’s Begin
Remove the wing nuts that hold the body to the tub and raise the upper body. Now raise the ATV until all tires are off the ground and make sure you secure it properly. Then remove the tires and wheels.
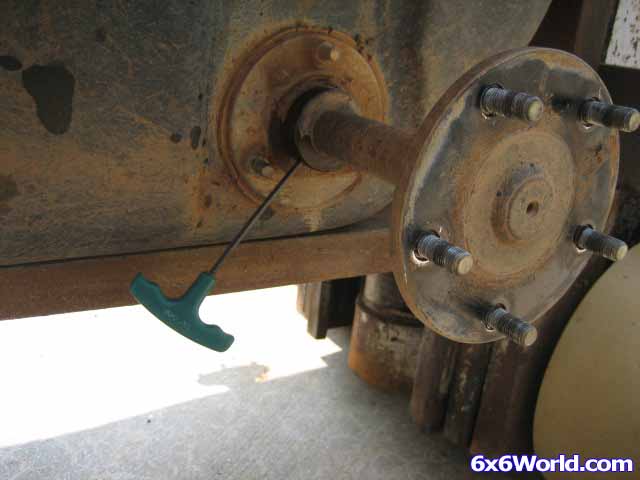
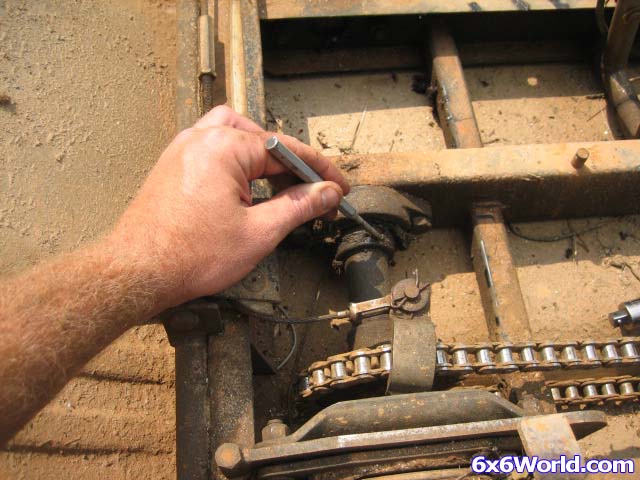
On the outside bearing, you will find two holes in the eccentric locking collar. One has a set screw in it and the other doesn’t. Loosen or remove the set screw. On my Max II, the set screw took a 5/32” allen wrench.
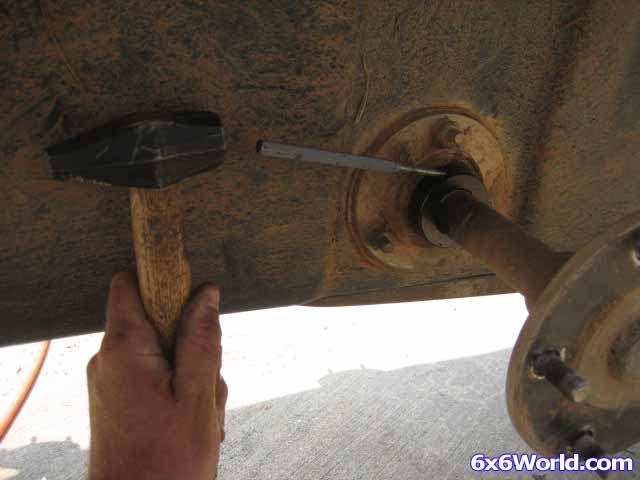
Once you have the set screw loose, locate the other hole on the collar. Use a punch and hammer on this hole to rotate the collar and free the cam from the race. The collar could rotate either way so if you have trouble getting it to budge you may want to try hitting it in the opposite direction.
Now using the same procedure as before, loosen the set screw on the inner bearing. Note: Some of the earlier Max six wheelers didn’t have inner bearings so this step may be optional for you depending on your 6 wheeler.
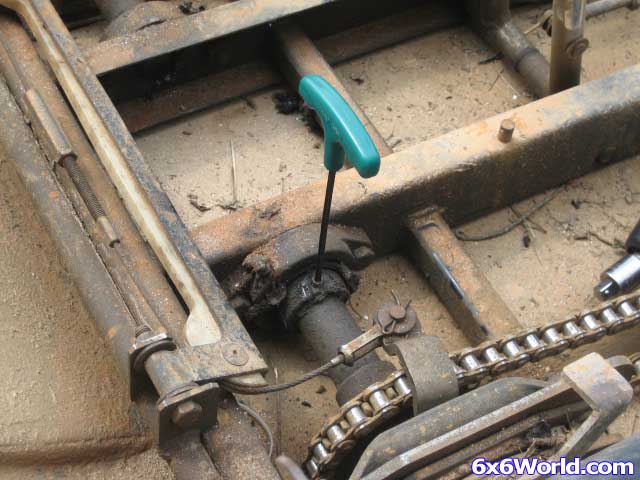
Rotate the collar to free it from the inner bearing.
Remove the nut and bolt that holds the sprocket on the axle.
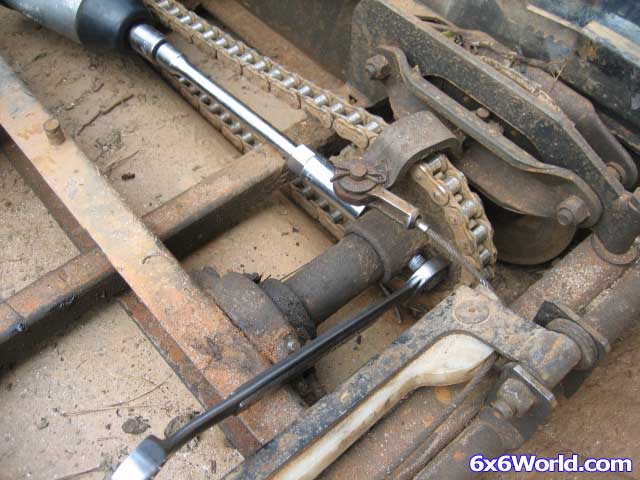
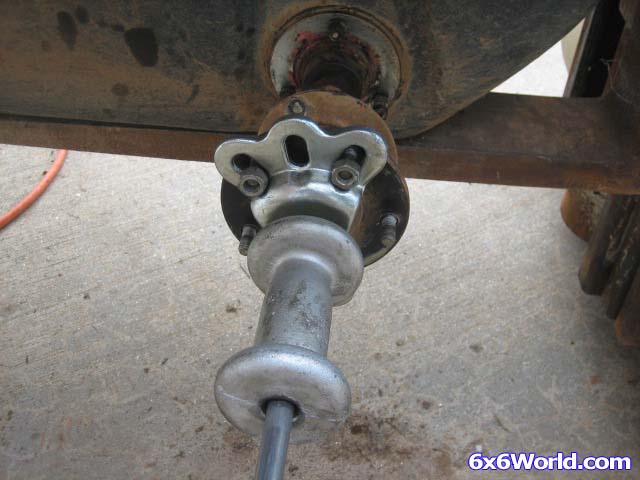
Now theoretically your axle should be free to just pull out however because many of our 6x6 ATVs are 10, 20, and even 30 years old it isn’t always that simple. Often, even after you remove the bolt that holds the sprocket on, the axle will not want to slide out. Sometimes spraying liberal amounts of penetrating oil around the ends of the sprocket tube can help but other times you just have to use brute force. A puller mounted to the lugs can give you that extra power that you need to break it free. Be sure that you put a crow bar or screw driver on the sprocket so that you have something to pull against and also so that you do not damage the tub.
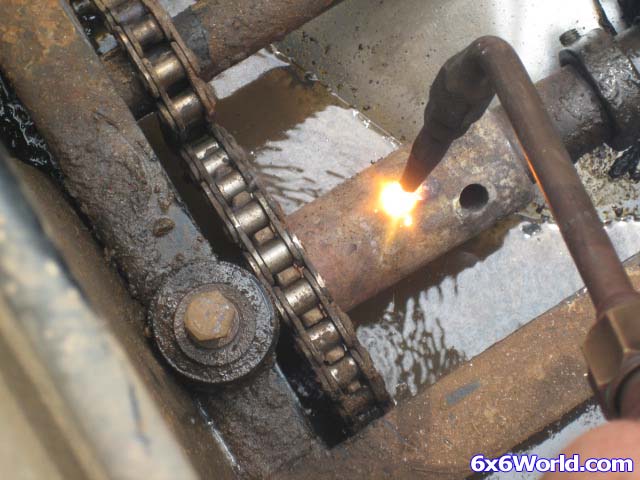
If that still doesn’t free the sprocket tube from the axle you can try using heat. Place a piece of tin under the sprocket and also put some water in the tub so that you don't melt it. Then you can carefully apply heat to the sprocket and try the puller again when it is red hot.
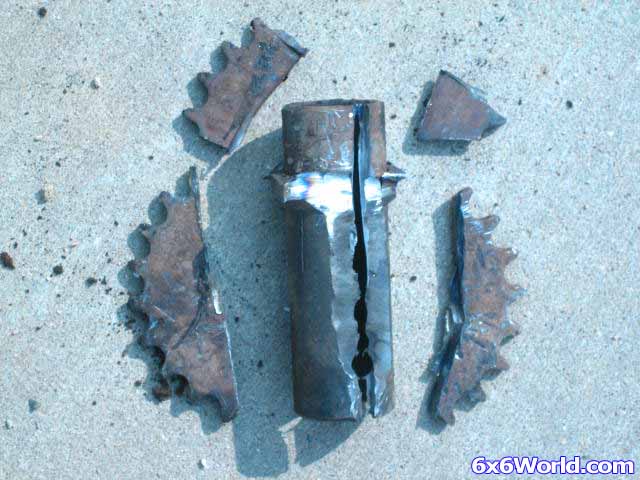
Finally if that doesn’t work you may have to cut the axle or sprocket off. The decision of which one to cut is up to you. If you are replacing the axle the I would just cut it. Later you could put the sprocket in a press to free it. I chose to cut the sprocket with a die grinder since I was replacing them anyway.
 . I think everything is going to work out good, but there is still some testing to do. I ran into a couple little issues, but nothing that can't be dealt with.
Sorry about the length of the vids, it was hard to keep the time down on a project like this. I have only uploaded the first part so far, but PT-2 will be edited into this post tomorrow if possible.
I have to say here that I'm NOT SURE if this will work with ALL Conquests. I have noted that some ...
. I think everything is going to work out good, but there is still some testing to do. I ran into a couple little issues, but nothing that can't be dealt with.
Sorry about the length of the vids, it was hard to keep the time down on a project like this. I have only uploaded the first part so far, but PT-2 will be edited into this post tomorrow if possible.
I have to say here that I'm NOT SURE if this will work with ALL Conquests. I have noted that some ...