1. After you have removed the T-20 from your machine begin by emptying all of the fluid by removing the drain plug on the lower part of the unit.
2. Begin by taking all of the nuts and bolts out that hold the two T-20 halves together.
(Note: Click on thumbnails for larger images)
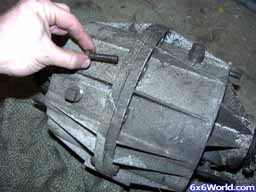
3. Carefully pull the two case halves apart.
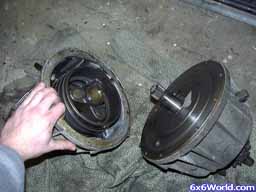
4. Next, you will remove the pins that hold the bands tight against the drums. I usually start on the side that is open and doesnt have the plate over the assembly (as seen above in step 3).
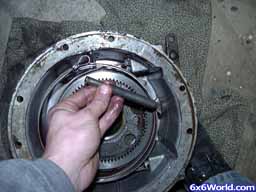
5. Take out the first drum with the planetary gears. Be careful when taking these out so the gears dont fall and so you dont lose the needle bearings inside them.
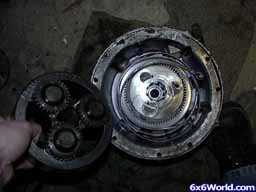
6. Now take the small retaining plate the planetary gears ride against. Pay attention to the location of the fiber thrust washers. The location varies by year the T-20 was manufactured. Some years there were none used as well.
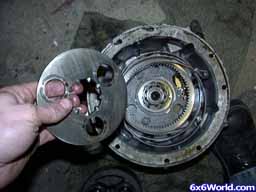
7. Take the second drum out of the case. Notice the fluid on the drums and in the case is the correct red color ATF. If the someone put in fluid that turned black, it is most likely gear oil. Wipe down and clean your bands, and the rest of your transmission because gear oil can actually cause the band material to separate from the metal.
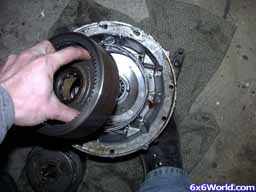
8. Now you should just left with the bands in the transmission.
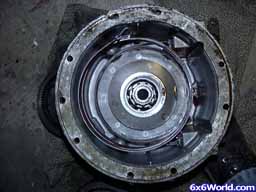
9. You will repeat the same process with the other side of the T-20, but first you have to remove the large round plate that covers it. Your best bet is to use the metal shifter retaining piece that came on the later model T-20's to take the "C-clip" off of the main shaft. If you don't have one of those, you could probably fabricate something to help. Tap it with a hammer, but hold a rag up to the shaft because it will go shooting across your garage and there is a good chance that you could lose it. Sometimes this step takes a couple tries since there is so much "spring" to the C-clip here.
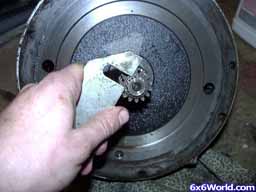
10. If the C-Clip doenst come all the way off after the previous step but moves just a little bit, take a flat blade screw driver and pry it out the rest of the way. Keep the rag up against it so it doesn't go shooting across the room as I mentioned.
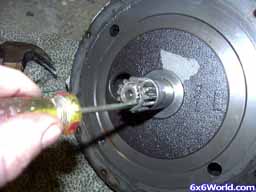
11. Pull the plate off along with the small gear on the shaft above the plate and the other small gear on the shaft below the plate.
13. Now repeat steps 4-7 with this half of the T-20.
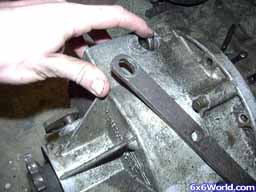
14. Next, take the lever that works the steering plungers off. This lever could be a piece of flat steel if you have a earlier style transmission, or piece of "U channel steel" on the later models. Push each of the steering plungers into the case through the holes bored into each case half. You may need to lightly tap them with a hammer.
15. Now pull the brake bands out. Keep in mind which one goes on what side of the case. You might want to mark them, or put a piece of tape on them to show you which one goes where. This will be important for reassembly.
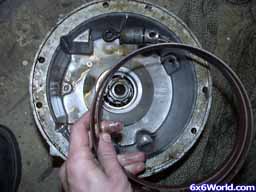
16. Repeat steps 14 and 15 for the other case half. Now you have disassembled your T-20. The second half of this article will cover reassembly and installation of the new parts (gaskets, O-rings, etc).
Copyright 2007 (JP) For use only on www.6x6world.com


 Sections
 Recent Forum Posts


 Currently Active Users
 Latest Poll
Could be something as simple as the primary...
Could be something as simple as the primary clutch needs to be blown out if it’s not releasing smoothly. Also check the 3 slider buttons on the secondary as the tend to break off.
tbone9 11-08-2024, 09:44 PM